
.svg)
.svg)

To help customize your research study, there are various settings you can use. To find these settings, select the gear icon in the top right corner.

Research Plan
Here you will be able to define your research plan by setting clear goals and providing key details about your company.
Research objectives: View and modify the research objectives you defined when you first created your study. You will want to update these if any of your objectives have changed to ensure your insights properly reflect the updated goals
Internal project name: A name your team will use to identify this project - this will not be shared with participants
About your company: Describe your company, including its industry, product type, primary purpose, unique features, and target audience

Interview Details
Here you can set up the name, description, and incentive for your research study.
Participant-facing study name: A friendly name that will be visible to participants. Make it clear and approachable
Study description: Provide a brief description of your study. Explain the purpose and what participants can expect

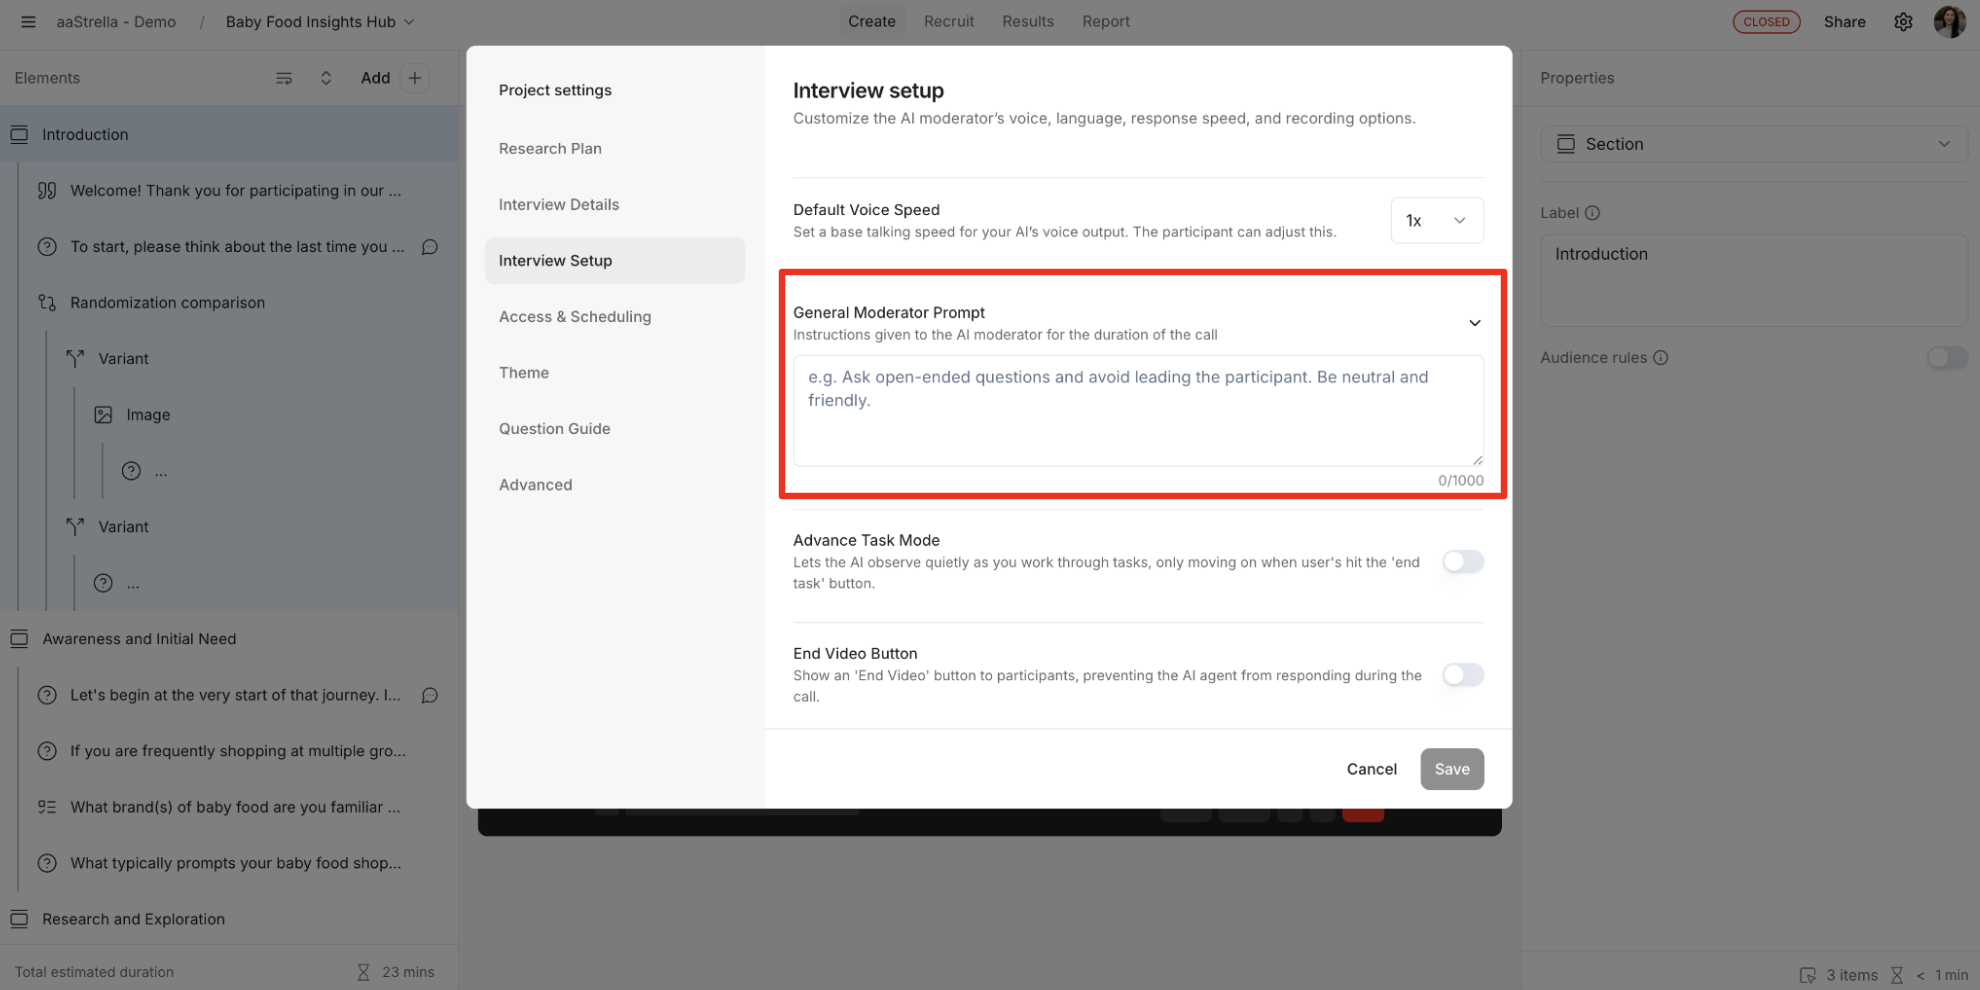
Interview Setup
Here you can customize the AI moderator's voice, language, response speed, and recording options.
Default moderator language: Choose from our long list of available languages to be the default language the AI will use for interviews
Response speed: Adjust the speed AI responds after a pause - faster responses are more engaging but may interrupt, while slower responses suit task-focused studies like usability tests
Webcam recording: Ask participants to enable their camera to record them during the session
Screen recording (desktop only): Ask participants to share their screen and allow it to be recorded during the session

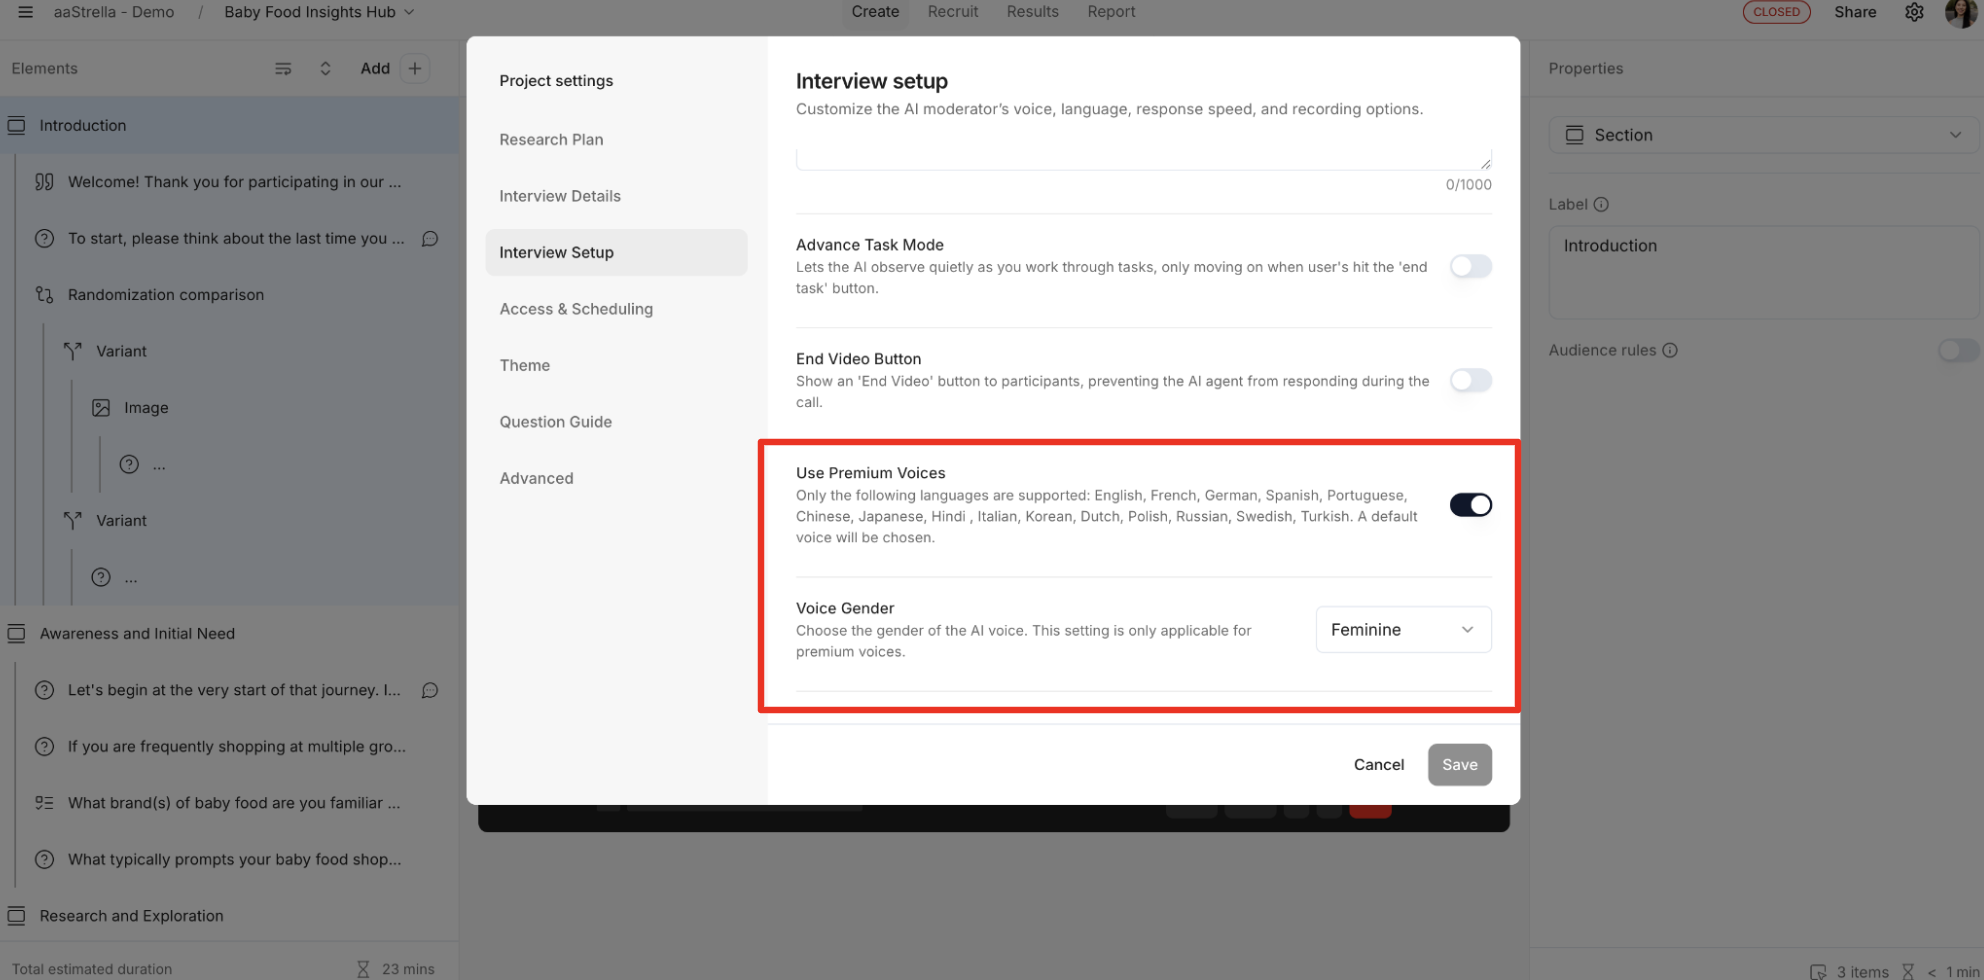
You can also apply advanced settings to your AI moderator, including:
Global moderator guidance: Give the AI moderator overall parameters and conditions to adhere to for the entire interview and all participants
Premium voices: Take advantage of our Premium voices setting to make Strella's interactions sound even more optimized, especially when using our multi-lingual feature
Access & Scheduling
Here you can manage participant access, invitations, and study availability settings.
Close study to new participants: Turn on to stop new participants from joining your study
Schedule close date: Set a date and time to close the study to new participants
Set participant limit: Set the maximum number of participants that can take the study before it automatically closes
Auto-invite participants (self-recruited only): Automatically invite participants you've recruited yourself if they qualify
Email required: If enabled, the user will have to provide a valid email address

Theme
Here you can customize the look of your participant registration forms by adding your company logo and customizing the button color to match you brand. This will allow the forms to be more easily recognizable to customers.

Insights
Here you can choose which version of insights you want to use for your project.
Traditional: The familiar experience you are used to - good for viewing past projects
Beta: Streamlined sharing, enhanced highlight reels, an updated explorer, and deeper insights

Advanced
Here you can configure advanced AI service providers for specialized use cases.
Large Language Model (LLM): Select your preferred language processing engine
Text-to-Speech Provider (TTS): Select the voice generation technology to use
Speech-to-Text Provider (STT): Select the speech recognition service to use
Prompt Selection: An experimental feature to select the best prompt for the AI model


